D365 Checklists · Admin
Using Checklist Templates
Being updated. This article was recovered from the old Help Center. Its steps and screenshots show the older Dynamics 365 interface.
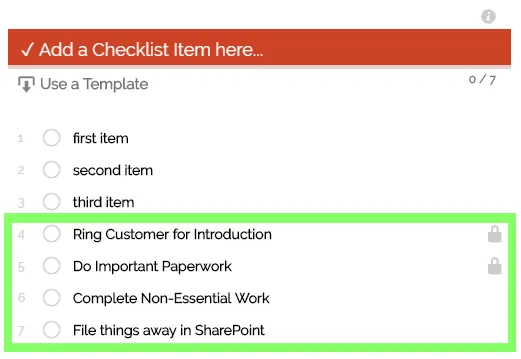
Checklist Templates are the pre-configured lists of to-do items that can be called on-demand, or used in workflow automation.
⚠ Image lost:
D365-Checklists---Use-A-Template.jpg
What are they?
Section titled “What are they?”Checklist Templates are records you create to store lists of items that can be re-used over and over again.
Think of Checklist Templates as your library of pre-defined process lists, that you can expand over time as you try to streamline your business processes.
⚠ Image lost:
D365-Checklists---Checklist-Template-Form.jpg
Navigation
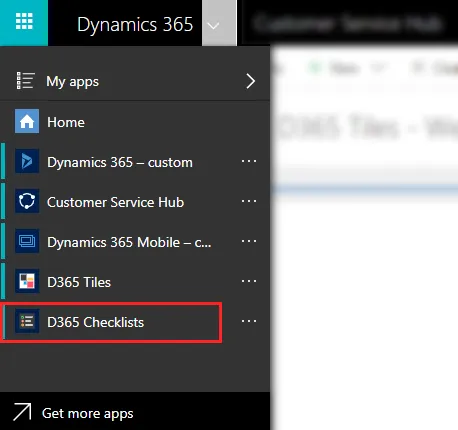
Section titled “Navigation”- Go to the Dynamics 365 APP Switcher
- Select the D365 Checklists app
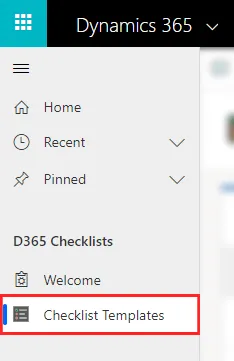
- Select Checklists Templates from the sitemap
Create or Edit
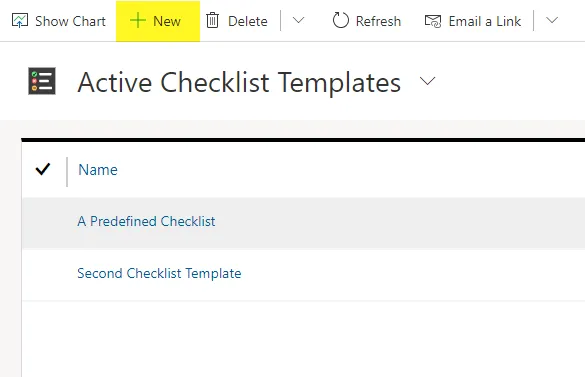
Section titled “Create or Edit”- Navigate to Checklist Templates
- Click the
 NEW button to add a new Checklist Template
 - or open an existing Checklist Template to edit it
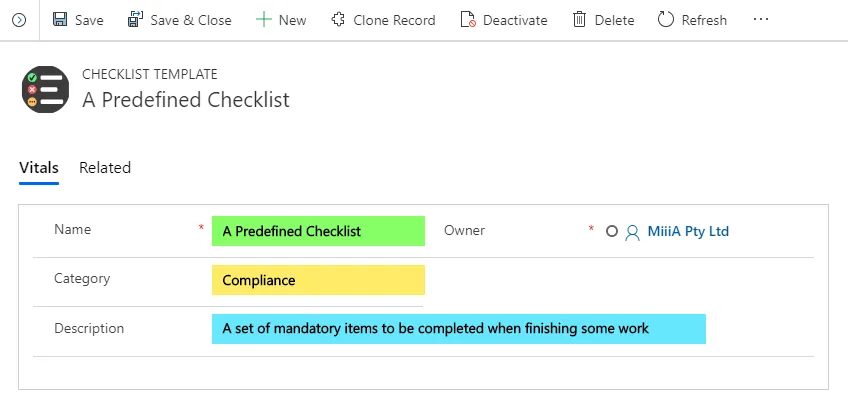
- Set or Edit the main fields:
- Name = The name of the template
- Category = This can make your templates easier to sort
- Description = Use it if you need a reminder of what the template’s for
- Save your changes
Set the Checklist Items
Section titled “Set the Checklist Items”- Open to your Checklist Template
- Add Checklist Items as required
⚠ Image lost:
D365_Checklists_Template_Admin.gif
- Edit, Resort or Delete as required
- Lock items that you want to be enforced/mandatory for end-users (This means users can tick/cross them, but not edit or delete them)
- When done just Save & Close
Using Templates
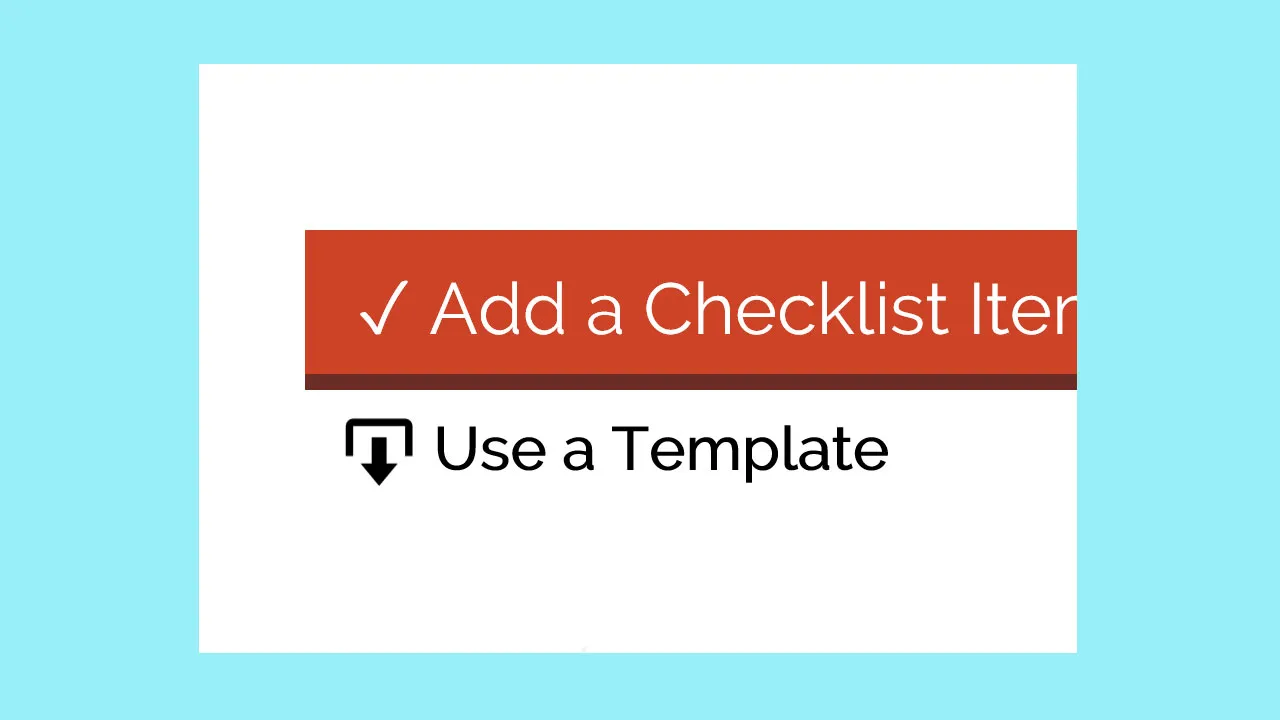
Section titled “Using Templates”- When using any Checklist, click the Use a Template button
- Select the Checklist Template you wish to insert into your Checklist
- Click OK
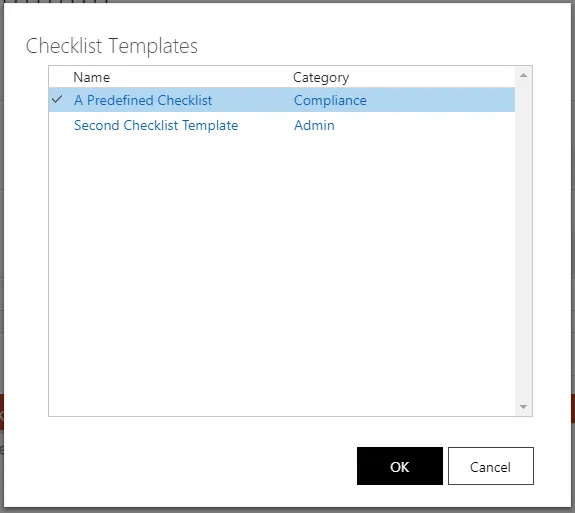
- The items from the Checklist Template will be added to your current Checklist